How to use FFmpeg and Whisper to add subtitles for free
2025-01-12 ― Tommy Jepsen ✌️
Here is a short an sweet tutorial on how I use Whisper from OpenAI and FFmpeg to add subtitles to videos for free on MacOS.
What is FFMpeg and Whisper
FFmpeg is a command-line tool that can be used to manipulate media files in various ways - its open source and probably one of the best open source projects that exists.
Whisper is an open-source speech-to-text system developed by OpenAI. It is designed for tasks like automatic speech recognition (ASR), language identification, and translation of spoken language into text. Whisper is robust across different accents, languages, and noisy environments, making it versatile for transcribing audio files, generating subtitles, and enabling accessibility features.
Step 1: Install FFmpeg and Whisper
Before you can start adding subtitles to a video, you'll need to install FFmpeg and Whisper. I'll walk you through how I did it on my MacOS.
# using Homebrew (https://brew.sh/)
brew install ffmpeg
I prefer creating a virtual environment to run the Whisper model.
# using Homebrew (https://brew.sh/)
brew install python3

# Go to path you want it placed
cd /path/

# After installing create enviroment (This creates a folder)
python3 -m venv whisper-venv

# Now switch to that environment
source /path/whisper-venv/bin/activate

# Install Whisper
pip install -U openai-whisper

# Check if it is installed
whisper --help
Now whisper is set up in your environment and ready to be used through your CLI.
Step 2: Source the audio from the video
The first step is to extract the audio from the video file. I use FFMpeg here to extract the audio into a .mp3 file.
# Go into your folder where the .mp4 file is
cd /path/

# Run ffmpeg
ffmpeg -i yourfile.mp4 yourfile.mp3
Now that it is extracted, you can run the Whisper model on it.
Step 3: Whisper the audio into a .srt file
I got the best experience with the small model on english videos. It feels like its better at writing shorter precise sentences and gets each word more correct.
whisper yourfile.mp3 --model small --output_format srt --language English
if you want e.g. fewer words per sentences, I sometimes got good experiences with using.
whisper yourfile.mp3 --model small --output_format srt --temperature 0.9 --beam_size 15 --best_of 3 --fp16 False
Step 4: Make sure the subtitles are correct.
Now I also open the .srt file and go through it quickly line by line. It gets custom e.g. app names wrong, but most of the time everything is pretty precise. I only do english language videos, so that might play in favor of it being pretty good at it.
# Open the
code yourfile.srt
After editing, just save the file, and now we can burn it into the .mp4 file.
Step 4: Now to burn the .srt into a the .mp4 file
I use FFmpeg here again, with the -vf (video filter) parameters that has a specify style I like, to burn the .srt into the .mp4 file and create a new called yourfile-subbed.mp4.
The -crf flag is teh quality of the video. By lowering it you get better quality, but longer render time. For my case 15 is a decent amount. 0 is lossless and 51 is the worst but fastest.
I also use -b:v with a 3000k bitrate. This also effects the quality. ChatGPT recommends 1500 for a video that is good for online video platforms.
ffmpeg -i yourfile.mp4 -vf "subtitles=yourfile.srt:force_style='FontSize=16,Outline=0,BorderStyle=3,BackColour=&H80000000,OutlineColour=&H00000000,BorderStyle=2,MarginV=20,MarginL=20,MarginR=20'" -c:v libx264 -crf 15 -b:v 3000k yourfile-subbed.mp4
Final
That is it! You now have a free subtitle generator that is pretty accurate and fast.
If you have any issues, please look up the Whisper Github repo, or FFmpeg website. Hope it helps.
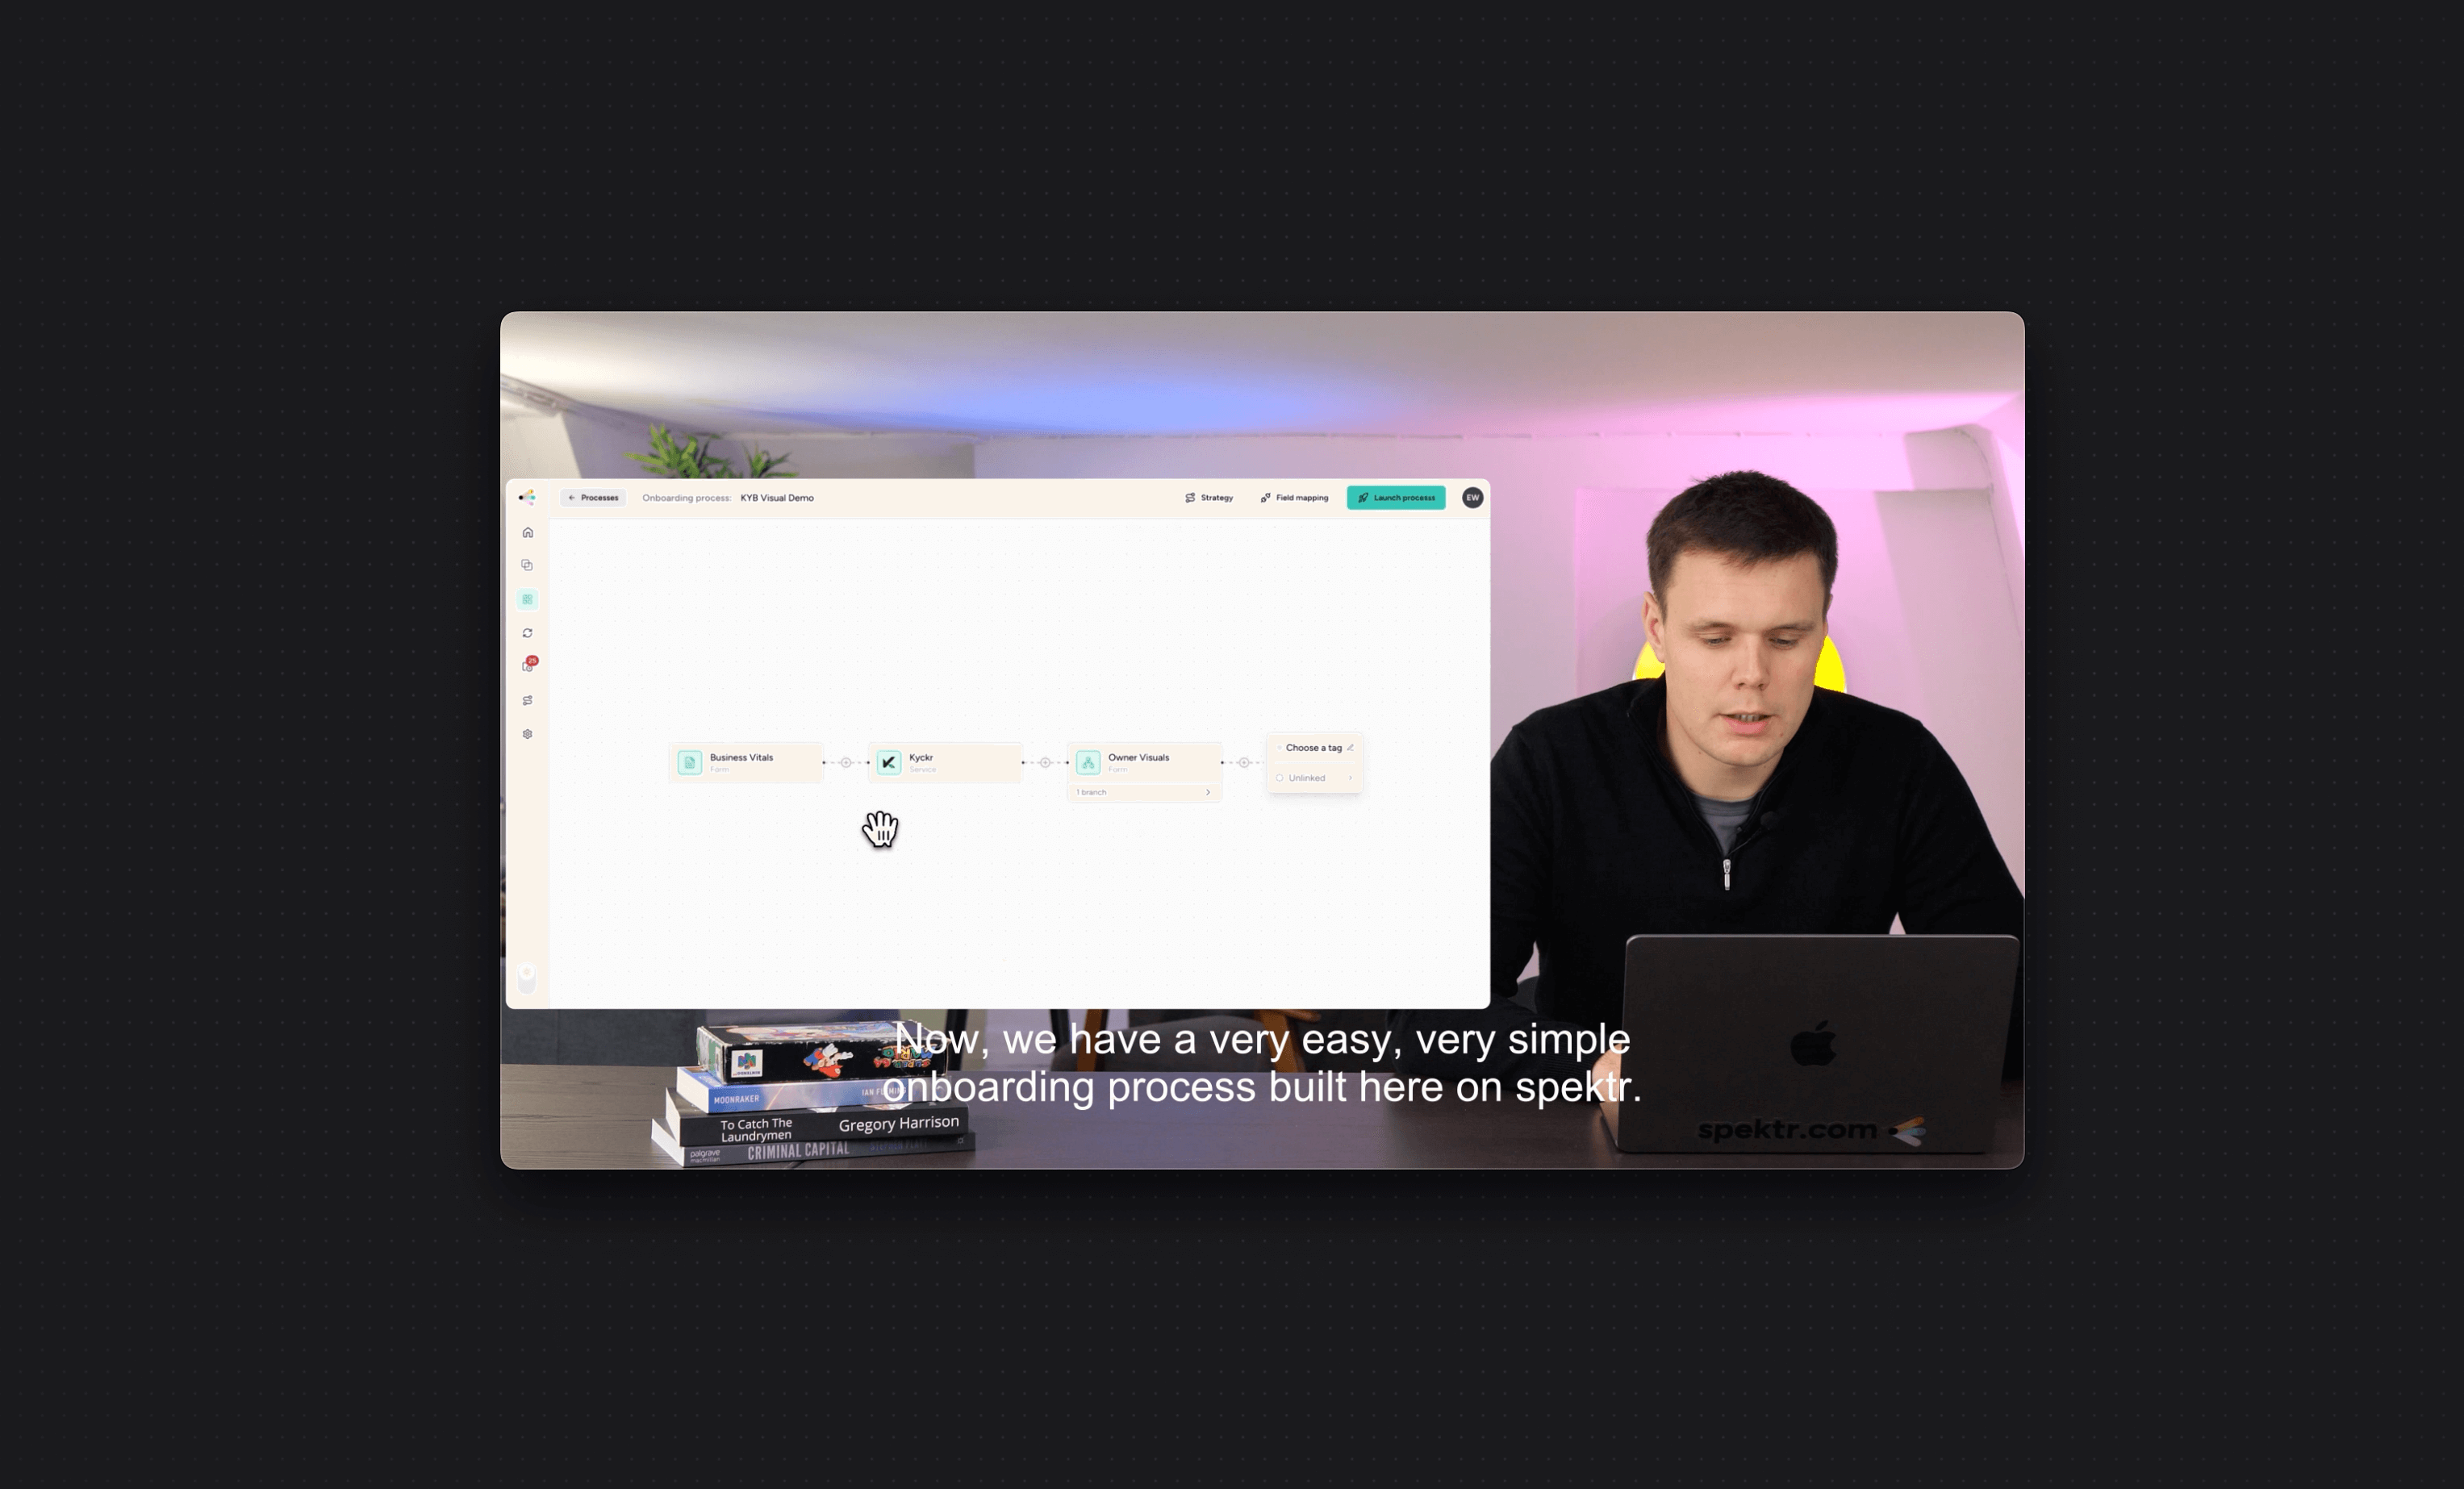
Here with an example of how it all looks like coming together. This is for the company spektr.
Hey 👋
My name is Tommy. Im a Product designer and developer from Copenhagen, Denmark.
Connected with me on LinkedIn ✌️
